
How to Use TallyPrime on a MacBook: Easy Setup Guide
Introduction
TallyPrime is a widely used accounting software designed for Windows, posing challenges for MacBook users. This guide offers a step-by-step approach to using TallyPrime on a MacBook by exploring various methods to ensure seamless operation on macOS, assisting business owners, accountants, and students in setting up and using TallyPrime efficiently.
Understanding TallyPrime and Its Features
TallyPrime provides tools like the following to make complicated accounting procedures easier to understand:
Billing and Invoicing: Create and manage bills with ease.
Download Free 90+ Tally Shortcut Keys
Inventory Management: Keep track of stock levels and manage inventory efficiently.
Payroll Management: Make payroll computations automatic while ensuring adherence.
Financial Reporting: Generate detailed financial reports to make informed business decisions.
Challenges of Using TallyPrime on macOS
Since TallyPrime is developed for Windows, MacBook users face compatibility challenges. However, with the right tools and methods, you can run TallyPrime on macOS effectively. Here are some solutions:
Method 1: Using Virtualization Software
Virtualization software allows you to run Windows on your MacBook as a virtual machine. This is one of the most popular methods for running Windows applications on a Mac.
Step-by-Step Guide:
1. Choose a Virtualization Software:Popular options include Parallels Desktop and VMware Fusion. Both offer seamless integration and excellent performance.
2. Install Windows:After installing the virtualization software, create a new virtual machine and install Windows. You will need a valid Windows license for this process.
3. Install TallyPrime:Once Windows is running on your virtual machine, download and install TallyPrime as you would on a Windows PC.
4. Open TallyPrime: On your MacBook, open the virtual machine’s TallyPrime and start using it.Start TallyPrime: Open TallyPrime from the virtual machine on your MacBook to start using it
Pros:
Seamless integration with macOS.
Ability to run multiple Windows applications simultaneously.
Cons:
Requires a Windows license.
Consumes additional system resources.
Method 2: Using Boot Camp
Windows may be installed with macOS thanks to a built-in feature called Boot Camp.This allows you to switch between the two operating systems.
Step-by-Step Guide:
1. Open Boot Camp Assistant: Locate Boot Camp Assistant in the Applications > Utilities folder.
2. Partition Your Hard Drive: Use Boot Camp Assistant to create a partition for Windows. Allocate sufficient space for Windows and TallyPrime.
3. Install Windows: Follow the instructions to install Windows on the new partition. You will need a valid Windows installation disc or ISO file.
4. Install TallyPrime: Once Windows is installed, boot into Windows and install TallyPrime.
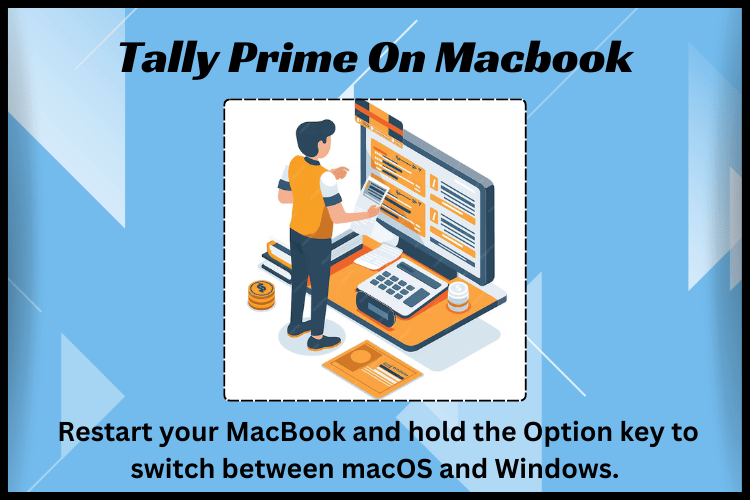
5. Switch Between macOS and Windows: Restart your MacBook and hold the Option key to switch between macOS and Windows.
Pros:
Full Windows experience with optimal performance.
Does not require virtualization.
Cons:
Need a reboot in order to transition between Windows and macOS.
Consumes disk space for Windows partition.
Method 3: Using CrossOver
Step-by-Step Guide:
1. Install CrossOver after downloading it: Get the app by visiting the CrossOver website.Follow the instructions on your MacBook to install it.
2. Install TallyPrime: Open CrossOver and search for TallyPrime in the application database. Follow the prompts to install it.
3. Run TallyPrime: Launch TallyPrime directly from CrossOver and start using it on your MacBook.
Pros:
No need for a Windows license.
Easy installation and setup.
Tips for Using TallyPrime on a MacBook
1. Regular Backups: Ensure that your Tally data is regularly backed up to prevent data loss.
2. System Resources: Monitor system resources to ensure smooth performance, especially when using virtualization software.
3. Updates: Keep both your macOS and TallyPrime updated to the latest versions for optimal performance and security.
Conclusion
It is possible to use TallyPrime on a MacBook if you have the appropriate tools and techniques. Whether you go with Boot Camp, CrossOver, or virtualization, each approach has pros and downsides. Without requiring a Windows PC, you can install TallyPrime on your MacBook and take use of its robust accounting features by following the instructions provided in this guide.
To ensure a smooth transition, Tallystack provides integration options and support for TallyPrime on macOS. Utilize TallyPrime on your Mac to simplify your accounting procedures and embrace the adaptability of contemporary technology.
Frequently Asked Questions
Q1: Can I use TallyPrime on a MacBook without Windows?
Yes, using CrossOver allows you to run TallyPrime without installing Windows, although some features may not be fully supported.
Q2: Is TallyPrime available for macOS natively?
Currently, TallyPrime is not natively available for macOS, but you can use virtualization or compatibility tools to run it on a MacBook.
Q3: Which method offers the best performance for running TallyPrime on a MacBook?
Boot Camp offers the best performance as it allows you to run Windows natively on your MacBook.
Q4: Do I need a separate Windows license for virtualization?
Yes, running Windows in a virtual machine or through Boot Camp requires a valid Windows license.
Q5: Can I switch back to macOS after using TallyPrime in Boot Camp?
Yes, you can easily switch between macOS and Windows by restarting your MacBook and selecting the desired operating system.