TDL: Variables, Buttons, and Keys
TDL concept of Variables, Buttons, and Keys
A variable is a type of entity or a storage location. A Variable is a value that changes depending on the circumstances or the data given to the program. TDL components can be used for performing specific task like TDL Prefixes and Symbols, Definitions, Attributes, Modifiers, etc. TDL actions can be performed in one of three ways: by selecting a Menu Item, Keypress, or activating a Button. Buttons and Keys have the same definitions, but Keys are different from Buttons when it comes to deployment.
Variable
A Variable is an important concept in TDL since it allows you to control the Reports and their contents behavior. Variables take on distinct values during execution, and these values influence the behavior of the Reports. The definition of a variable is the same as any other definition.
Download Free 90+ Tally Shortcut Keys
Syntax
[Variable : <Variable Name>]
Attribute : Value
A variable’s purpose should be determined by the name it is given.
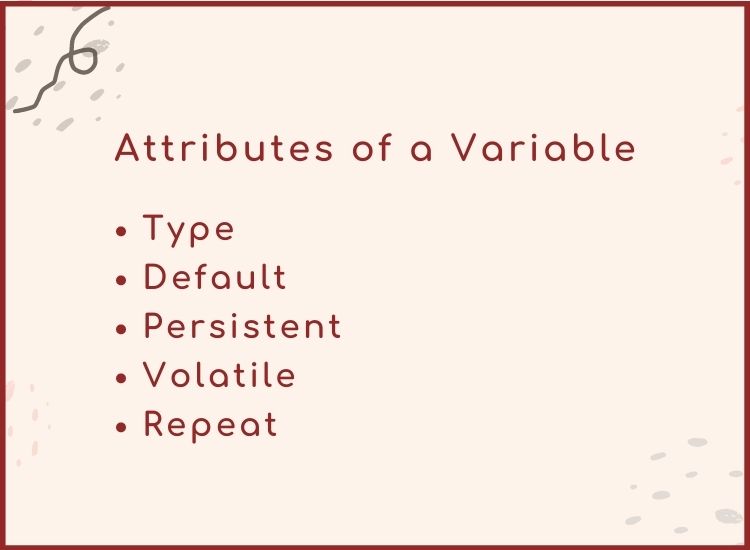
Attributes of a Variable
The nature and behavior of a Variable are determined by its attributes. The following are some of the most commonly utilized attributes:

Type
The Type of the value that will be retained by the variable is determined by this attribute. A variable can handle the following types of values: String, Logical, Date, and Number. If this attribute is not present, then by default a variable is assumed to be of the Type String.
Syntax
[Variable : <Variable Name>]
Type : <Data Type>
Example
[Variable : ICFG Supplementary]
Type : Logical
The logical value of ICFG Supplementary is adjusted by the user based on its logical value, and it is used to influence the behavior of various reports.
Default
Based on the ‘Type‘ defined, this attribute is used to assign a default value to a variable.
Syntax
[Variable : <Variable Name>]
Default : <Initial Value>
The value of the variable should match the data type defined by the “Type” Attribute.
Example
[Variable : DSP HasColumnTotal]
Type : Logical
Default : Yes
The logical Variable DSP HasColumnTotal has a default initial value set to YES. In Reports, this variable will start with the value YES until the System Formula overrides it. In the following sections, we will study the System Formula.
Persistent
This attribute determines the attribute’s retention period. If the attribute ‘Persistent’ is assigned to YES, the most recent value of the variable will be kept between sessions, provided the variable isn’t a local variable.
The concept of local and global variables we will introduce shortly.
Syntax
[Variable : <Variable Name>]
Persistent : <Logical Value>
Example
[Variable : SV Backup Path]
Type : String
Persistent : Yes
The ‘Persistent‘ attribute of the variable SV Backup Path has been changed to YES, indicating that it will keep the most recent path specified by the user even if Tally is used concurrently.
Volatile
When the ‘Volatile’ attribute in the Variable definition is adjusted to YES, the variable is capable of storing multiple values, i.e. its original value and subsequent values are maintained as a stack. This attribute’s default value is YES.
When a new report R2 is started using a volatile variable from the previous report R1, the volatile variable’s current value is kept as a stack, and the variable can take on a new value in the new report R2. The previous value of the variable will be restored after the previous report R1 is retrieved from report R2. A drill-down Trial Balance is a classic illustration of this.
Syntax
[Variable : <Variable Name>]
Volatile : <Logical Value>
Example
[Variable : GroupName]
Type : String
Volatile : Yes
The ‘Volatile‘ characteristic of the Group Name Variable is set to YES, indicating that the variable ‘Group Name‘ can store numerous values which have been received from different reports.
Repeat
This attribute is primarily utilized in various Reports to accomplish the Auto Column behavior. Until all the columns required for Auto Columns are exhausted, each Column is automatically formed with a subsequent Object in a Collection. The value of the ‘Repeat’ attribute is a variable that contains the collection of Objects for which the columns must be produced. The column for the subsequent Object is added every time the Repeat is performed.
Syntax
[Variable : <Variable Name>]
Repeat : <Variable Value>
Example
[Variable : SV FromDate]
Type : Date
Volatile : Yes
Repeat : ##DSPRepeatCollection
##DSPRepeatCollection variable receives the Collection Name from a Child report, which accepts inputs from the user regarding the columns required. Variable SVFromDate gets repeated over the subsequent period in the Collection each time the column repeats.
The Scope of a Variable
A scope of the variable can be divided into the following categories:
- Local
- Global
- Field acting as a variable
Local
When a variable is linked to a Report, it is referred to as a local variable. This signifies that the scope of the variable is limited to the current report and its components. The presence of an initial value for local variables is not required.
Syntax
[Report : <Report Name>]
Variable : <Variable Name>
Example
[Report : Balance Sheet]
Variable : Explode Flag
By associating the Explode Flag Variable with the Report attribute ‘Variable,’ Explode Flag Variable is made local to the Report ‘Balance Sheet.’ As long as we work with this Report, this variable will hold its value. The original value is returned when the report is exited, and the value updated within this report is gone.
Consider a scenario in which the Opening, Inwards, Outwards, and Closing Columns are enabled in the configuration settings for the ‘Stock Summary’ Report. The variables resume to their default settings when we exit and re-enter the Report.
Global
When a variable is defined under the System Variable section, it is referred to as a global variable. It signifies that the scope of the variable includes all reports. For global variables, an initial value is required.
Syntax
[System: Variable]
Variable : < Initial Type Based Value>
Example
[System: Variable]
BSVerticalFlag : No
The variable BSVerticalFlag is specified globally. As a result, even after we exit and re-enter the Report, the value of the variable that was altered in it is retained. A Global Variable can be retained on two levels: during the current session and across sessions.
The altered variable value is preserved across sessions if the Variable attribute ‘Persistent‘ is defined YES; otherwise, the value defaults back to the earlier value on re-entering another Tally session.
Field Acting Variable
In a ‘Field‘ Definition, the Variable attribute is utilized to make the Field act like a variable. When a value is entered or changed in a Field, the variable immediately adopts the same value. The Field’s data type is passed down to the Variable, thus it doesn’t need to be defined beforehand.
For instance, a Trial Balance Report is a drill-down report, it is necessary to retain the Group Name that the user has chosen. As a result, the field value changes as the user scrolls up and down, and the current field value is immediately passed on to the variable so that if the current group is chosen and drilled down, the report starts with the subgroups and ledgers of the group selected.
Syntax
[Field : <Field Name>]
Variable : <Variable Name>
Example
[!Field : DSP Group Acc]
Variable : Group Name
This is used in the ‘List of Accounts’ Report in Tally ERP 9, wherein the optional Field DSP Group Acc is made to act as a variable by using the Field attribute ‘Variable’, and the selected value by the user is carried on to this variable for further usage.
Modifying the Variable Value
Modifies is a field attribute that is used to change the variable value.
Syntax
[Field : <Field Name>]
Modifies : <Variable Name>
Example
[Field : SLedger]
Modifies : SLedger
The value stored/keyed in the Field SLedger is used to modify the SLedger Variable.
Example – Variables
The use of the Local variable is seen in the given code snippet.
[Variable : LocVar]
Type : String
Default : “This is the default value”
;;Variable LocVar of Type String is defined and it is assigned a Default Value
[Report : Local Variable]
Variable : LocVar
;;At this point, Variable LocVar becomes a Local Variable for this Report
[Field : Local Variable Field]
Set As : “This is a Local Variable in Report”
Modifies : LocVar
A local variable LocVar is defined and is attached locally to the Report ‘Local Variable’ in this code snippet. The Variable Value in this Report is changed to ‘This is a Local Variable in Report‘. The value of the variable locvar altered in this Report is lost once we quit this Report.

Buttons and Keys
TDL actions can be performed in one of three ways: by selecting a Menu Item, pushing a Key, or Button activation.
Buttons and Keys have the same definition, but Keys differ from Buttons when it comes to deployment.
All of the buttons that are utilized in the ‘Buttons’ attribute are visible on the button bar, allowing the user to click them or press the unique combination of the key. All of the Buttons in the ‘Keys’ attribute are invisible entities, and to activate a key, the key combination connected with the key must be pressed; while to activate a button, either the button can be clicked or the key combination allocated to the button must be pressed.
Attributes of Buttons/Keys
Title
The attribute ‘Title‘ can be used to give the Button displayed on the Button Bar a relevant title. This attribute is not mandatory.
Syntax
[Key/Button : <Key/Button Name>]
Title : <Button Title>
Example
[Button : NonColumnar]
Title : “No Columns”
Key/Keys
This attribute is being used to produce a unique combination of the key that may be triggered by pressing the same key combination from any Report or Menu. If action is mentioned in this definition, this attribute is required.
Syntax
[Key/Button : <Key/Button Name>]
Key : <Combination of Keys>
Example
[Button: NonColumnar]
Key : Alt + F5
Action
The Action attribute is used to link a Button to a specific action. Every Button or Key has been set to perform certain predefined activities.
Syntax
[Key/Button : <Key/Button Name>]
Action : <Required Action>
Example
[Button: Close Company]
Inactive : $$SelectedCmps < 1
ActionEx
At the button or key level, the attribute ActionEx is utilized to improve multi-action support. It allows you to specify numerous actions for when a key or button is invoked. A triple list attribute is ActionEx.
Syntax
[Button:<Button Name>]
ActionEx: <Label>:<Action Keyword>[:<Action Parameters>]
OR
[Button :<Button Name>]
<Label>:<Action Keyword>[:<Action Parameters>]
Where,
<Button Name> is the button definition’s name.
<Label> is any string that serves as an identifier for the ActionEx statement. The ActionEx statements can be deleted, added, modified, or replaced using the label. It’s a required sub-attribute.
- If the labels are distinct, the ActionEx statements are implemented in the sequence in which they were specified.
- If the labels are identical, the last operation within the same label is carried out.
<Action keyword> any platform or object-specific action, with the exception of function-specific actions.
<Action Parameters> are a set of parameters as needed by the specified actions, separated by a colon. This argument may be optional depending on the action specified.
Example: 1
[Button: Show Final Accounts]
Key : Ctrl + F
ActionEx: TB : Display : Trial Balance
ActionEx: PL : Display : Profit and Loss
ActionEx: BS : Display : Balance Sheet
OR
[Button: Show Final Accounts]
Key : Ctrl + F
TB : Display : Trial Balance
PL : Display : Profit and Loss
BS : Display : Balance Sheet
Example: 2
To display the altered final accounts, modify the code in example 1 as follows:
- Delete the action that displays TrialBalance using the Delete attribute: TB.
- After the PL label, insert the action to change the attribute ExplodeFlag to yes.
- Change the BS label to show the report ‘MyBalanceSheet.’
[Button: Modified Final Accounts]
Use : Show Final Accounts
Delete : TB
Add : ActionEx: After:PL: ExplodeFlagNo : Set: ExplodeFlag: No
Replace : ActionEx: BS :BS: Display : My Balance Sheet
[Report: My Balance Sheet]
……
Form: Balance Sheet
Example: 3
In the report MyReport, using the Show Final Accounts button from Example 1 and edit it locally to delete the Trial Balance display via ActionEx.
[Report: My Report]
……
Form: My Report
[Form: My Report]
….
Button: Show Final Accounts
Local : Button: Show Final Accounts: Delete: ActionEx: TB
Example
[Button: Show Final Accounts]
Key : Ctrl + F
Action List : Show Trial Balance, Show Profit and Loss, Show Balance Sheet
;; Key Names which are to be triggered in sequence
[Button: Show Trial Balance]
Key : Ctrl + F
Action : Display : Trial Balance
[Button: Show Profit and Loss]
Key : Ctrl + F
Action : Display : Profit and Loss
[Button: Show Balance sheet]
Key : Ctrl + F
Action : Display : Balance Sheet
When you utilize the attribute ActionEx, however, the code size is reduced.
Example:
[Button: Show Final Accounts]
Key : Ctrl + F
ActionEx: TrialBalance : Display : Trial Balance
ActionEx: ProfitandLoss : Display : Profit and Loss
ActionEx: BalanceSheet : Display : Balance Sheet
Summary:
A variable is a type of entity or a storage location. It is a variable value that can change depending on the circumstances or the information provided to the program. The type of value that will be held within the variable is determined by the Variable attribute Type. Based on the type defined, the attribute Default is being used to set a default value to a variable. The Persistent attribute determines the retention period of the attributes. The Modifies attribute in a Field definition is being used to change a variable’s value. The button definition attributes are Title, Key, Action, ActionEx, and Inactive. For any Tally on Cloud details visit Tallystack.in.

FAQ
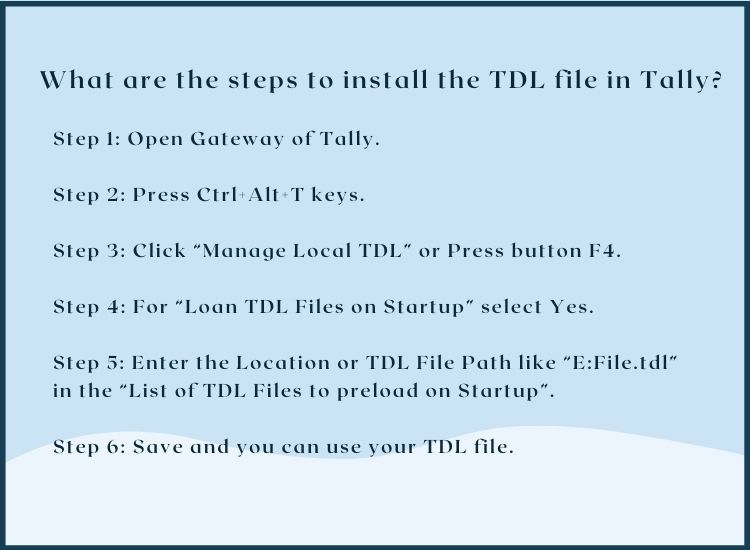
What are the steps to install the TDL file in Tally?
Step 1: Open Gateway of Tally.
Step 2: Press Ctrl+Alt+T keys.
Step 3: Click “Manage Local TDL” or Press button F4.
Step 4: For “Loan TDL Files on Startup” select Yes.
Step 5: Enter the Location or TDL File Path like “E:File.tdl” in the
“List of TDL Files to preload on Startup”.
Step 6: Save and you can use your TDL file.
What is the execution order when ActionEx is defined with unique labels?
When ActionEx is defined with unique labels, the execution order is the same as the specification order.
Example
[Button: Show Final Accounts]
Key : Ctrl + F
Title : Final Accounts
ActionEx: TB : Display : Trial Balance
ActionEx: PL : Display : Profit and Loss
ActionEx: BS : Display : Balance Sheet
The button Final Accounts in the preceding example displays the reports in the following order: Trial Balance, Profit and Loss, and Balance Sheet.
